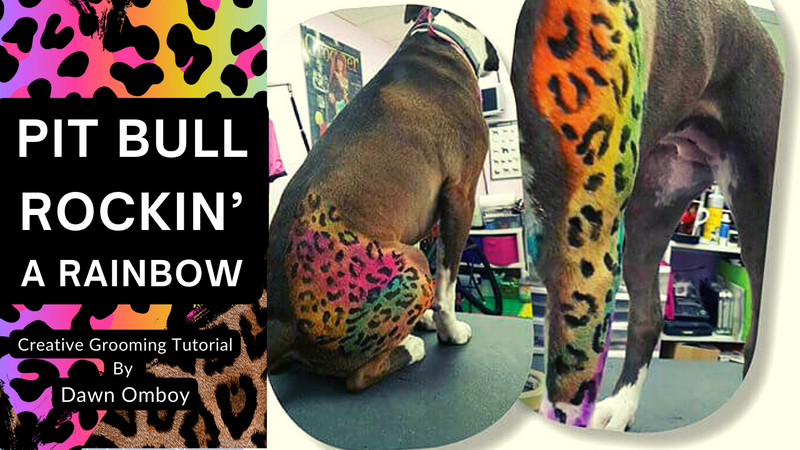
Pit Bull Rockin’ a Rainbow
Dawn Omboy
Queen of Color
USA
This is Bambi, a re–homed sweetheart of a pit bull. On this day in the salon, our mild–man- nered girl began her color transformation.
When doing this, or any other color works on a dog, make sure your color model is healthy with no skin issues. Bambi is brown so I chose to lighten a section on her back left hip and leg, as well as her right front shoulder and leg. This would give the creative pattern a good bit of balance when looking at the dog.
**FOR PROFESSIONALS ONLY**
To lighten the selected areas, I used a lightening cream and developer.
Professional-only Lightening Cream & Developer

These two products are made to work together. Once the developer is mixed with the cream at a ratio of two parts developer to one part lightening cream it becomes active and will lift the natural color of the hair, making it possible to color over it with other hair colorants and allowing them to show up better. The formula only remains active for about 30 minutes.
Step By Step
Fig 1) Using a tint brush, I applied the solution to the areas I wished to lighten by brushing it on the top of the flat coat. You only need a thin layer on the top of the coat—do not try to satu- rate to the skin. 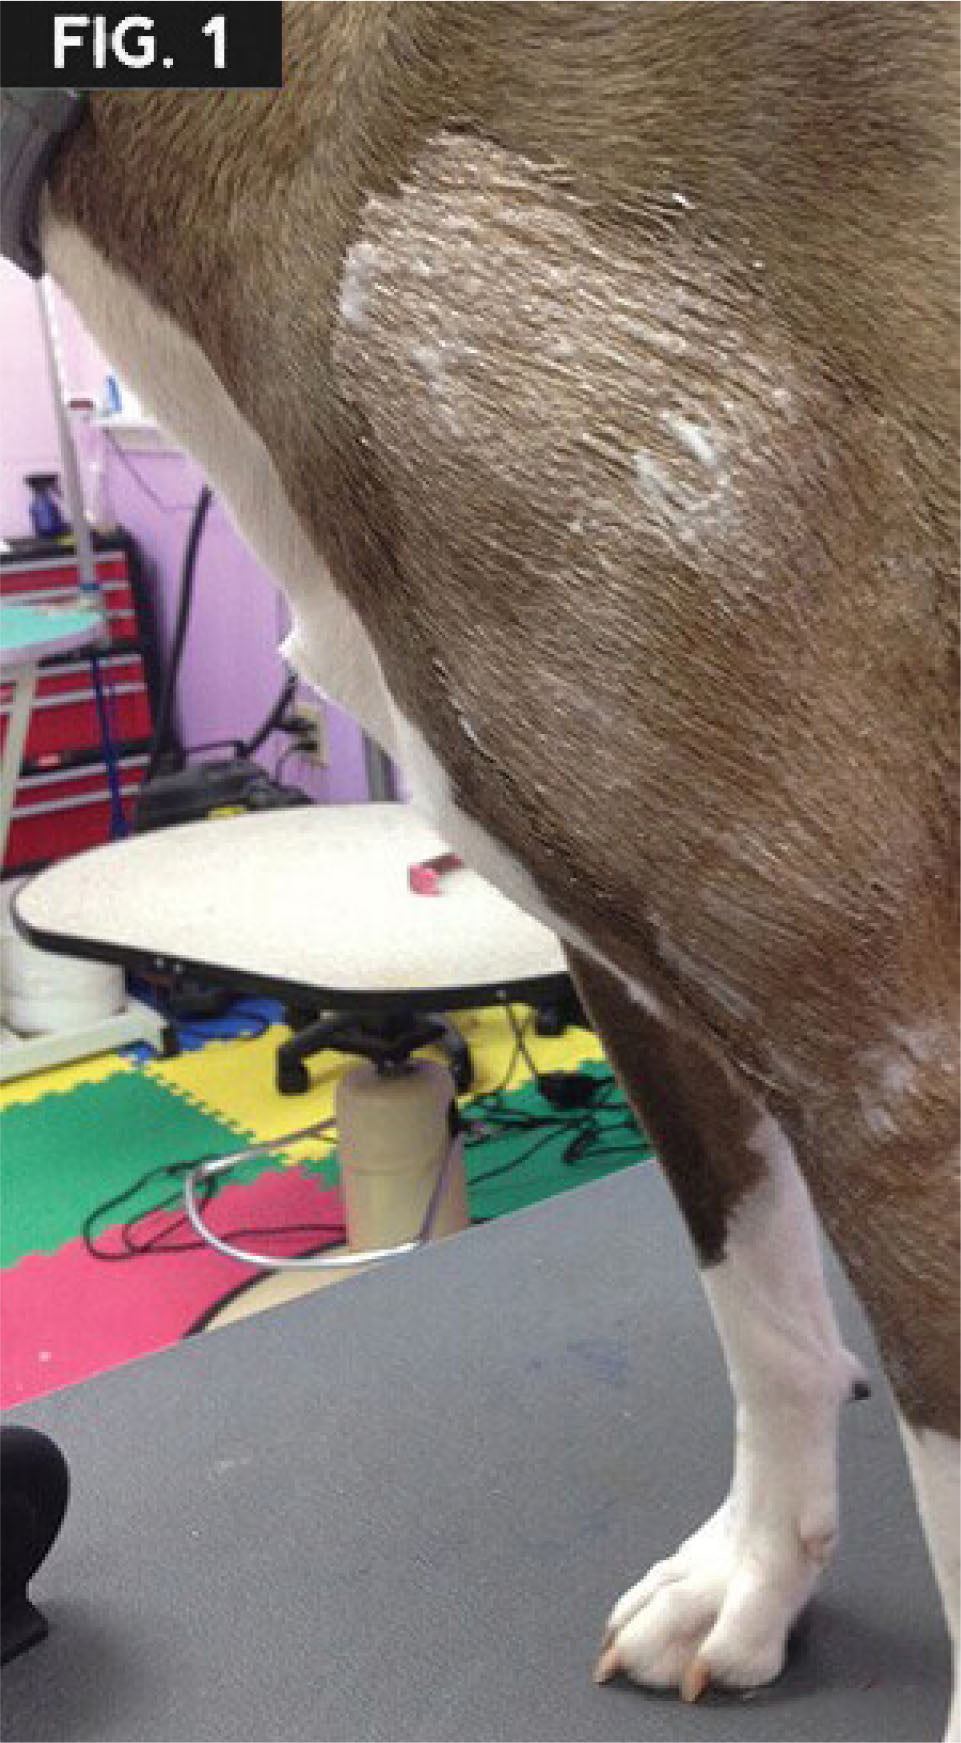
Fig 2) Let this stand for 30 minutes from the finish of application time. I like to use a kitchen timer for tracking my processing time. When the bell dings, take your dog to the tub and, not only rinse, but wash the areas well and then dry them. You may decide then if you want to color over that day or wait until the next day.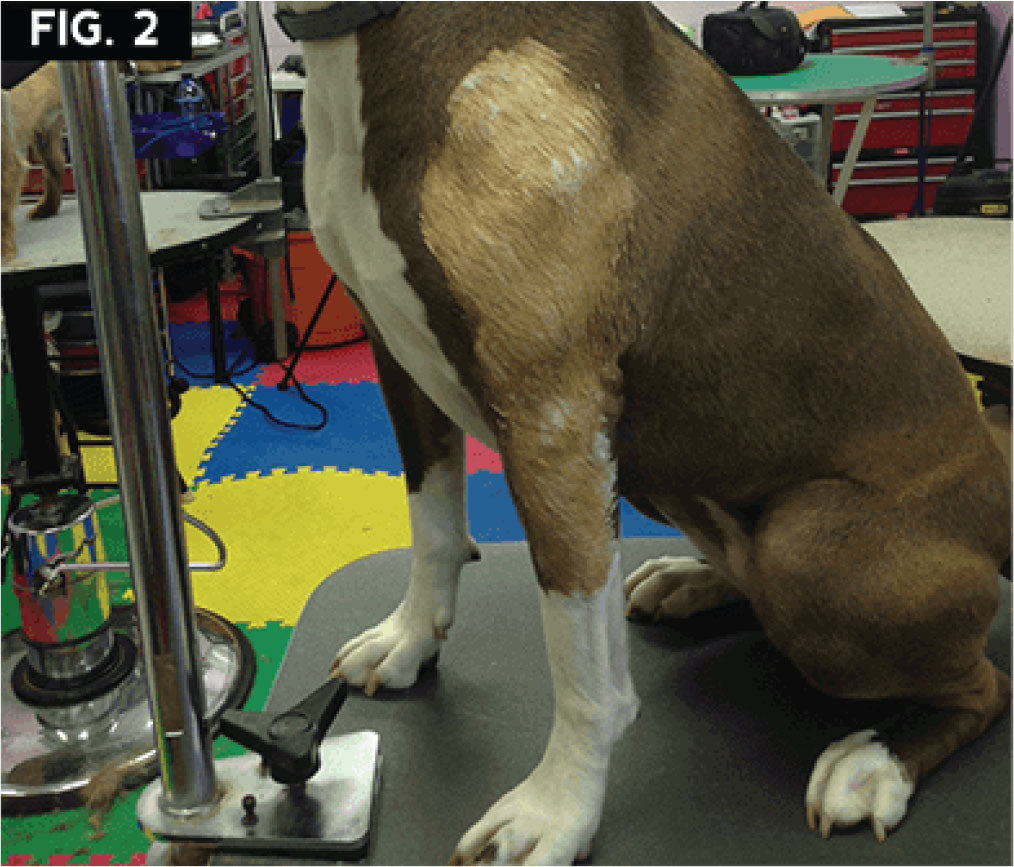
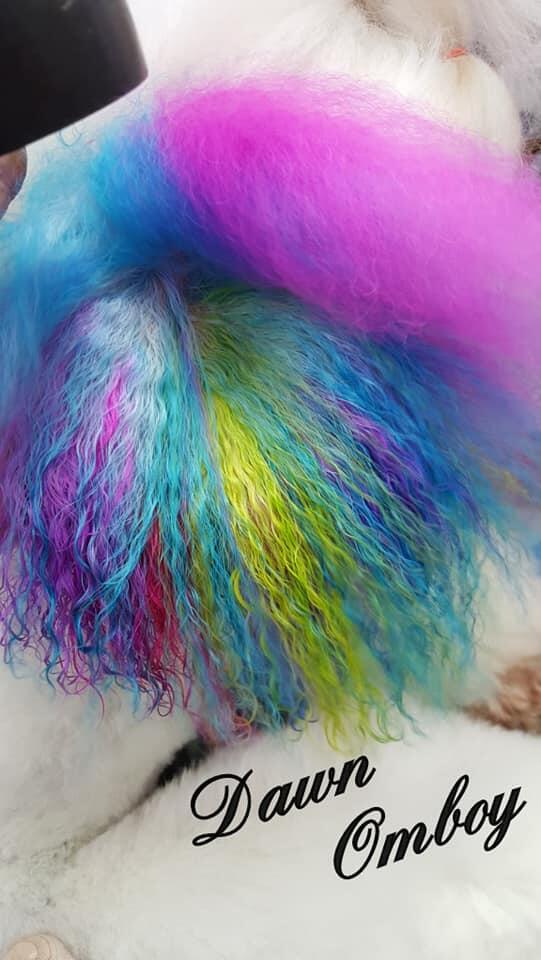
Fig 3) What I did next was a rainbow wash on Bambi’s lightened areas. I placed the colors I would use in a dish in the order I would be using them with for easy access.
With a separate tint brush for each color, I painted them on, going with the lay of the coat. Again, it is not necessary to saturate or try to get this down to the skin on a flat coat. If your colors overlap a bit, that is just fine, they will blend.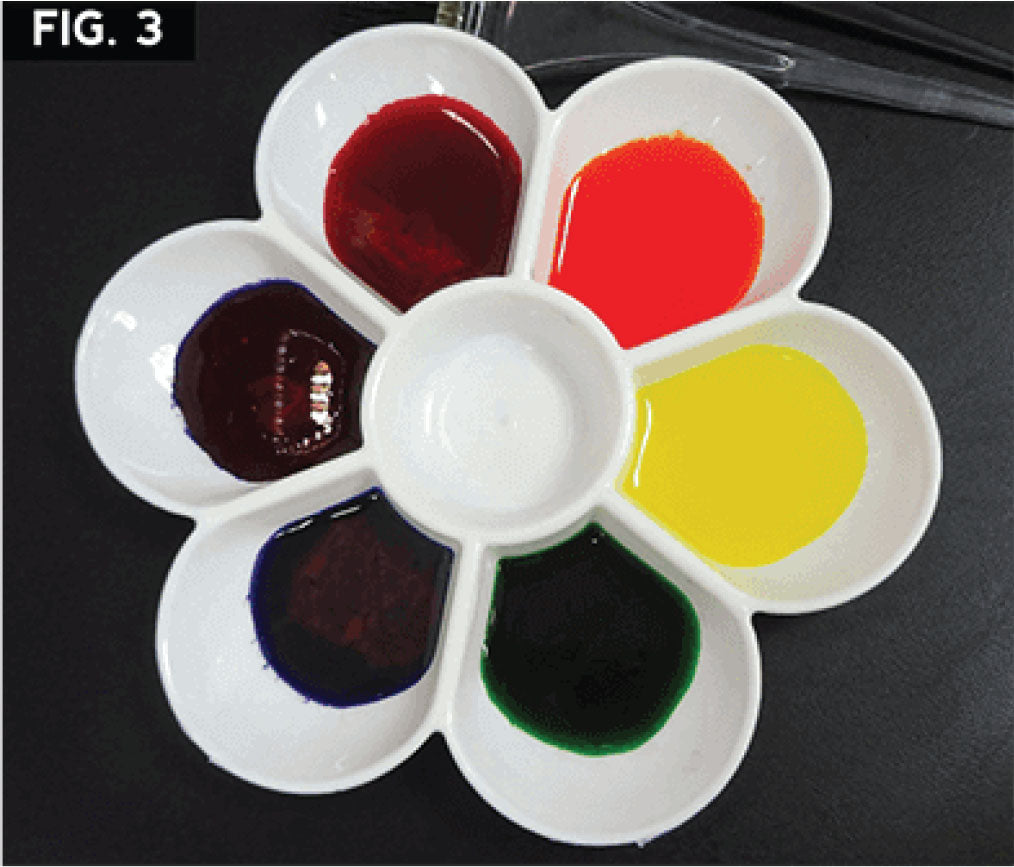
More Pet Hair Color Combinations


With this part done, I went ahead and prepared the next layer of color that would go on this design. I chose to use a black dye, which comes in a box that contains the color cream and an activator. When the two components are mixed together, they will not appear black in the bowl, but do not worry, you will see it turning black on your dog as it develops.

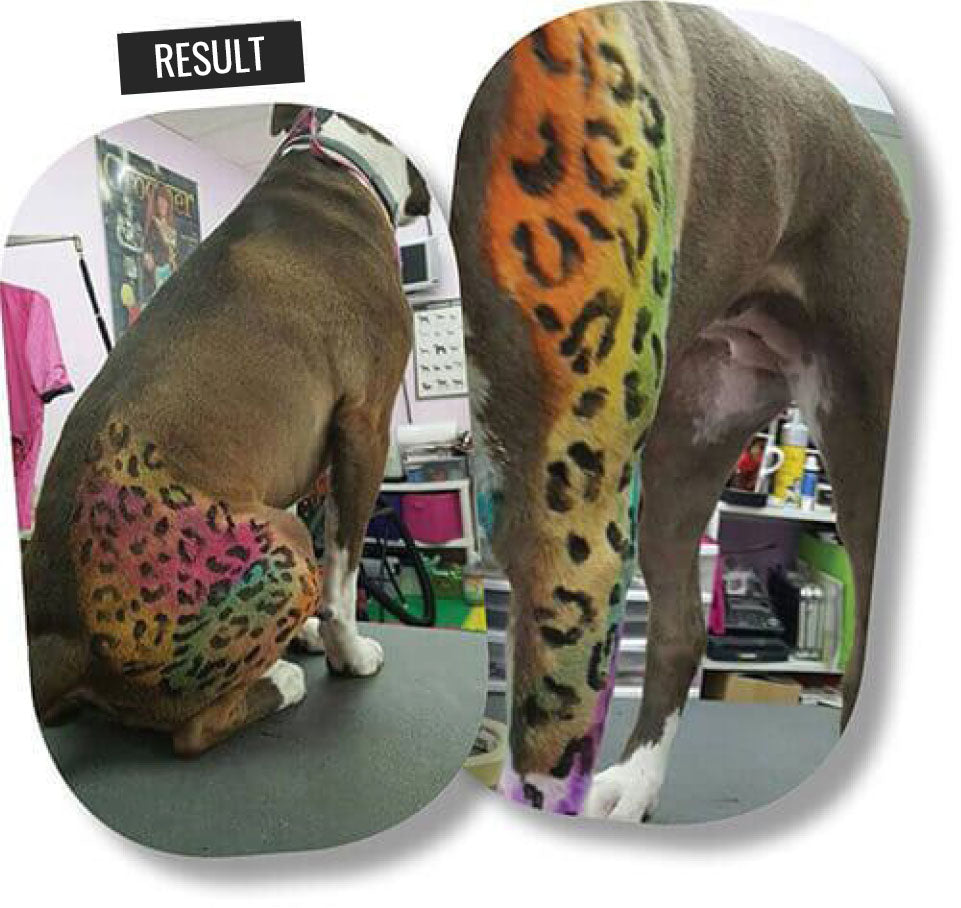
Fig 4) For Bambi, we painted a random animal print right over the rainbow wash pattern. We left this all on her for another 30 minutes. She was then taken to the bath tub where she got rinsed, bathed and rinsed again. And now Bambi is Rockin’ her new Animalistic Rainbow Pattern!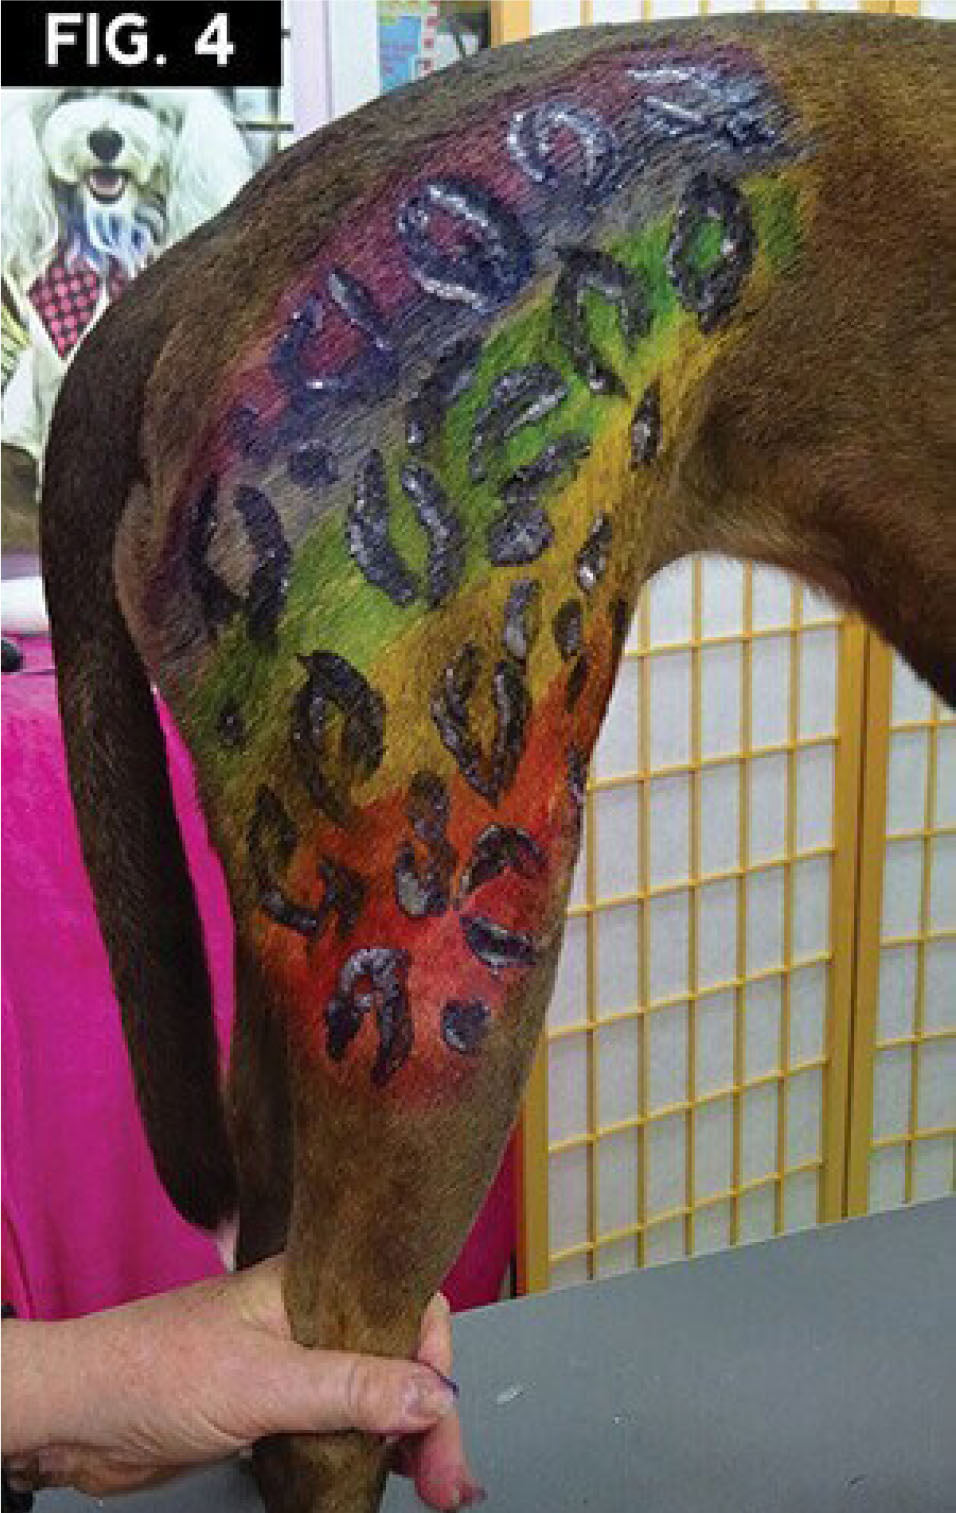
More Creative Grooming Done By Dawn Omboy with OPAWZ

Animal Styles Creative Grooming Tutorials
Tips For Leopard Spots Creative Grooming 1 >>
Leopard Spots Creative Grooming 2 >>
Rainbow Stripes Animal Style Creative Grooming >>
0 comments