

Want to add a pop of color to a dog’s grooming style? Coloring the tail with OPAWZ Temp Ink Spray is a fun way to experiment with temporary pet hair color while keeping the design focused on one area.

In this tutorial, we show you how to use OPAWZ Temp Ink Spray to create a colorful tail, from preparing the coat and protecting the surrounding hair to applying color, brushing, drying, and revealing the finished look.
Whether you’re a professional dog groomer or exploring creative grooming techniques, this step-by-step guide will help you follow the process.
Tutorial Quick Review: How do you color a dog’s tail with temporary ink spray?
Prepare the tail, protect the surrounding coat with an appropriate barrier, shake the OPAWZ Temp Ink Spray, apply the color carefully, then brush and dry the hair as demonstrated in the tutorial. Always follow the product’s current label directions and take care to prevent spray from reaching the dog’s face or eyes.
What You’ll Need
Before starting, prepare the following:
- OPAWZ Temp Ink Spray for temporary dog tail coloring
- A clean, dry tail prepared for coloring
- A suitable protective barrier, such as the coat-covering method demonstrated in the video
- Grooming gloves
- A suitable brush or dog grooming comb for finishing the hair
- A well-ventilated workspace
Keep the dog comfortable throughout the process, and use products only according to their labeling and intended use.
How to Use OPAWZ Temp Ink Spray for Dog Tail Coloring
Step 1: Prepare the Coat
Start with clean, dry pet hair.
Dry hair helps the temporary color apply more evenly and makes it easier to control the finished design.
Before applying color to the pet, consider testing the spray first. A small test can help you understand the color intensity and spray pattern before working on the final design.
Now begin by identifying the section of the tail you want to color.
Prepare the hair so that you can apply the spray evenly and work through the section without unnecessary tangling. Make sure the dog is comfortable and can remain in a safe, stable grooming position.
💡 Grooming Tip: Decide where you want the color to begin and end before spraying. A clear plan helps you create a more intentional finish.

Step 2: Protect the Surrounding Coat
Before applying color, protect the rest of the dog’s coat.
In the tutorial, a protective covering is used around the dog’s body, with an opening that allows access to the tail. This helps keep the coloring process focused on the intended area. Make sure the covering is secure without restricting the dog’s breathing, movement, or comfort. Never leave a dog unattended while a covering is in place.
Why is coat protection important? Protecting the surrounding hair helps reduce accidental color transfer and makes it easier to keep the finished design neat.

Step 3: Shake OPAWZ Temp Ink Spray
Shake the Temp Ink Spray bottle thoroughly before spraying. This helps ensure the product is properly mixed before application.
Preparing the product properly helps you achieve a more consistent application. Before spraying the dog, check the spray direction and make sure the surrounding area is protected.
💡 Grooming Tip: When coloring near the face, use a physical barrier or other appropriate grooming technique to prevent unwanted spray from reaching sensitive areas such as eyes, nose and mouth. For more detailed designs, controlled application is especially important. Work slowly rather than trying to apply a large amount of color at once.
Step 4: Apply Color to the Tail
Apply the temporary color to the prepared tail, concentrating on the section you want to transform.
Use controlled applications rather than saturating the hair immediately. Pay attention to the coverage and work carefully to avoid coloring areas outside the intended design.
Hold the spray bottle approximately 20 cm away from the coat. Keeping a consistent distance helps you control the spray pattern and coverage. If you move the bottle closer, the color can become more concentrated in a smaller area. Moving farther away can create a softer, more dispersed effect.
For a more even result:
1. Hold the bottle approximately 20 cm from the coat.
2. Spray with controlled movements.
3. Avoid oversaturating one area.
4. Build color gradually instead of applying too much at once.
The finished appearance can depend on the coat’s condition, hair texture, and the amount of product applied.
💡 Grooming Tip: Take your time during application. A controlled approach helps you focus the color where you want it and reduces unwanted overspray.

Step 5: Brush and Dry the Colored Hair
After applying the color, follow the brushing and drying process shown in the tutorial.
Brush the hair carefully to help arrange the colored strands and refine the appearance. Use an appropriate drying method that follows the product instructions and keeps the dog comfortable.
Avoid moisture while the color is drying, as moisture can affect the appearance and clean edges of the design. Once dry, you can assess the final color and decide whether another light layer is needed.
Avoid rubbing or handling the colored hair unnecessarily while finishing the design.


Step 6: Finish The Look & Admire The Result!
Once the tail is finished, check the color coverage and overall appearance.
Look at the tail from different angles to make sure the colored section looks intentional and the surrounding coat remains clean. The finished look is a simple way to add a bright accent to a dog’s grooming style without committing to a permanent color change.
A colorful tail can add a playful detail to a creative grooming transformation, photoshoot, special event, or everyday grooming showcase.


🎥 Watch the Tutorial for How to Color a Dog’s Tail with OPAWZ Temp Ink Spray
How to Use Temp Ink Spray To Create Clean Designs with Stencils
One of the most useful techniques demonstrated in the tutorial below is using stencils or design templates. Stencils can help create sharper shapes and recognizable patterns without needing to freehand the entire design.
How to use a stencil:
- Place the stencil over the prepared coat.
- Hold the stencil firmly against the hair.
- Spray from approximately 20 cm away.
- Apply a controlled layer of color.
- Carefully remove the stencil.
- Allow the design to dry before touching it.
Creative Grooming Ideas with Temp Ink Spray
Once you understand the basic application technique, the OPAWZ Temp Ink Spray temporary pet hair dye can be used for many creative grooming projects. Try it for:
🎨 Soft Pastel Effects Layer :lighter applications to create a soft, blended appearance.
💗 Heart Designs: Use a heart-shaped stencil to quickly create a recognizable temporary pattern.
🌈 Color Blocking: Apply different colors to separate areas of the coat for a bold creative grooming look.
📷 Photoshoot Designs: Temporary color is useful for creating a special look for photography, holiday events, or creative dog styling demonstrations.
FAQs About OPAWZ Temp Ink Spray
What is OPAWZ Temp Ink Spray used for?
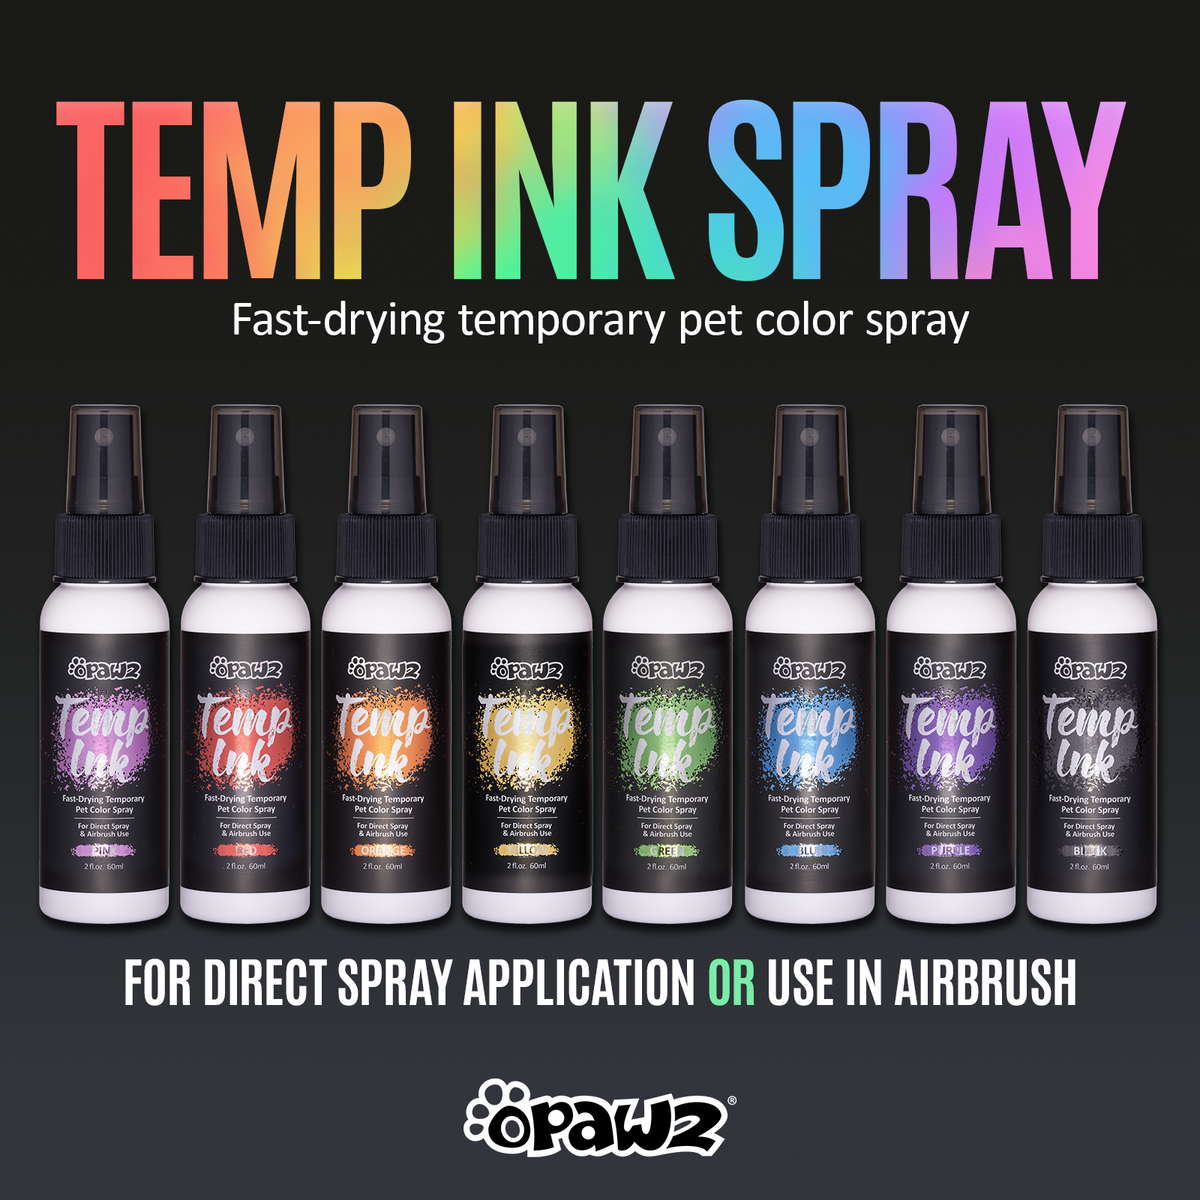
OPAWZ Temp Ink Spray is a temporary pet hair coloring product intended for creative grooming applications. It can be used to add temporary color accents and create temporary creative dog styling designs.
How do you use OPAWZ Temp Ink Spray?
Shake the bottle, work in a well-ventilated area, apply to dry hair from approximately 20 cm away, spray gradually in light layers, and let each layer dry before touching.
Is Temp Ink good for creative grooming?
Yes, its temporary, wash-out format makes it ideal for creative grooming, competitions, photoshoots, and experimenting with color without commitment.
Can Temp Ink Spray be used in an airbrush?
Yes. Remove the spray top and pour the Temp Ink Spray directly into your airbrush machine’s reservoir.
How long does the Temp Ink Spray last?
OPAWZ Temp Ink last 1-2 washes.
How to remove the temp ink?
OPAWZ Temp Ink is temporary and can be removed through bathing. The number of washes needed can vary depending on the amount applied and the coat.
Will it rub off on furniture?
All our temporary products may transfer slightly onto furniture and clothing. We recommend keeping the colored areas dry and avoiding water to help prevent color transfer.
How can I make temporary pet hair color more vibrant?
Layer the spray gradually, letting each layer dry before adding the next. Layered light coats produce deeper, more even color than one heavy spray.
Does Temp Ink need to dry before touching the coat?
Yes. Allow the colored hair to dry fully before touching it, and keep the area away from moisture while drying.
Can I use a stencil with temp ink spray?
Yes. Hold the stencil firmly against the dry coat and spray from 20 cm away in a light, controlled layer to minimize color bleeding around the edges.
Should pet hair be wet or dry before using Temp Ink Spray?
Dry. Apply OPAWZ Temp Ink Spray to a clean, fully dry coat for the most even, controllable results.
How can I prevent spray from getting on the rest of the dog’s coat?
Protect the surrounding hair with a suitable barrier, expose only the section you intend to color, and apply the spray carefully. Keep the dog comfortable and supervised throughout the process.
0 comentarios